Tuesday, October 20, 2020

Halloween snags


Hello ladies
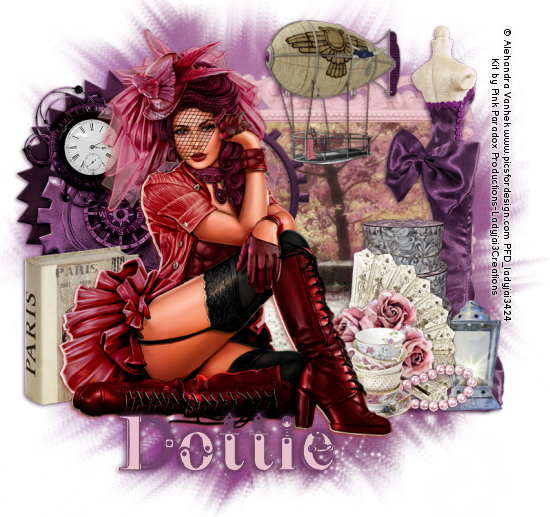
here are some Halloween snags for you all

The tube i used is by © Alehandra Vanhek
it is an exclusive tube


I used a tutorial by
Diana D of Greek Kisses for this tag

Great tut! go check out her blog!


just left click to bring full size then right click to save to your own computer

Thanks for looking!


Ladyjai3Creations
October 2020


Saturday, October 10, 2020

Halloween tag show off


Just a tag show off tonight


i made this with an older tube by © Alehandra Vanhek

it is called Box with Magic and it is an Exclusive tube over at
PicsforDesign.com 


thanks for looking !


Ladyjai3Creations
October 2020


Friday, October 9, 2020

Warming Autumn tutorial


Warming Autumn Tutorial
by Ladyjai3Creations
October 2020


what you need

a autumn type tube

i am using Autumn Picnic by

© Ellie_Milk

https://picsfordesign.com/en/catalogue/id_168691_autumn_picnic.pix


a scrap kit

i am using

Olive Branch Cafe by Pink Paradox Productions
http://www.wickeddiabladesigns.com


mask of choice


font of choice


eye candy 4000- gradient glow for copyright info


open a transparent image 800 x 800


c&p frame 12 resize by 70% then 80% center in canvas


magic wand tool click in center, c&p paper 8 selections invert hit delete on keyboard select none, drag paper under frame in your palette


get your tube, i used the brown layer jacket and red hair for this , image mirror, magic wand click inside the frame again, selections invert, hit delete on keyboard select none drag tube under frame in palette blend mod luminance legacy bring properties to 50-60 add DS (V2 H-2 Opac 68 Blur 7)


back to top layer c&p tube image mirror again place on left side of frame, sharpen add DS, i resized mine by 70% 3 x 


c&p ele 74 resize by 70% 2 x and place behind tube on right side sharpen add DS


c&p ele 109 resize by 70% 1 x and place under tube and blanket sharpen


c&p ele 113 and place in front of tube on left sharpen add DS


now c&p ele 121 resize by 70% 4 x and place top right corner of frame sharpen add DS


c&p ele 128 resize by 70% 4 x and place behind the other flower sharpen add DS


c&p ele 141 resize by 70% 4 x image rotate to left by 20% 2 x layers duplicate mirror image the duplicate 20% to right place under the flowers, sharpen add DS


c&p ele 144 resize by 70% 2 x image flip sharpen add DS and place under flowers


c&p ele 71 resize by 70% 2 x image mirror and place behind tube on left side sharpen add DS


c&p ele 39 resize by 70% 3 x and place under brown flower sharpen add DS


c&p ele 75 resize by 70% 4 x and place in front of blanket sharpen add DS


c&p ele 54 resize by 70% 4 x and place in front of tube sharpen add DS


c&p ele 3 resize by 70% 5 x and place beside cookies sharpen add DS


c&p paper 12 to your bottom layer apply mask merge group


you can add any other elements you want 


back to top now you can crop your tag merge visible resize to what you like, merge visible add

 copyright info, license # , kit designer credits and your own taggers watermark. you can use eye candy

 4000 gradient glow to make the copyrights look clearer. merge visible save as png


thats it! i hope you enjoyed my tutorial and it was easy to follow
thanks for trying my tutorial


Warming Autumn tutorial
by Ladyjai3Creations
October 2020


Thursday, August 27, 2020

Autumn Splendor snags


Some autumn snags for you. these ones are png format.
The tube i used is by 

© Alehandra Vanhek

the tube is named Lavinia and you can get it at PicsforDesign.com


The kit i used is by 

Pink Paradox Productions

entitled Autumn Embers

you can pick the beautiful kit up at

www.wickeddiabladesigns.com


click to bring full size then right click and save as png
thanks for looking


Enjoy!


Ladyjai3Creations
Autumn Splendor Snags
August 2020


Sunday, August 2, 2020

Tag show off


Just a tag show off tonight

i been using my older kits & tubes recently

this tube is Sandy by

© Alehandra Vanhek

you can find it here

https://picsfordesign.com/en/catalogue/id_145263_sandy.pix


The kit i used is Beach House by

Pink Paradox Productions and you can purchase it here

www.wickeddiabladesigns.com 


thanks for looking!


Ladyjai3Creations
August 2020

Thursday, July 30, 2020

Steampunk Bride tutorial


Steampunk Bride tutorial
by Ladyjai3Creations
July 2020


what you will need

eye candy 4000- gradient glow for the copyright info

mask of choice
font of choice
i used Steamy you can pick it up at DaFont.com

a tube
i am using Steampunk Bride by
© Alehandra Vanhek
i am using the burgundy layer

a kit
i am using Steamy Romance by
Pink Paradox Productions

you can pick the kit up at

http://www.wickeddiabladesigns.com


open a new transparent image 800 x 800

c&p frame 5 resize by 70% 2 x place a little to the right of tag

get your magic wand click inside frame, selections expand by 2 c&p paper 29 selections invert hit delete on keyboard select none. drag paper under frame in your palette


c&p your tube resize by 70% 2 x or more depending on the size of your tube and place on left side of frame sharpen add DS (your choice)


go to your frame layer c&p ele 99 and place behind tube sort of to the left sharpen add DS


c&p ele 37 resize by 70% 3 x and place behind tube on right side sharpen add DS


c&p ele 59 resize by 70% 3 x and place behind teacups on right side sharpen add DS


c&p ele 28 resize by 70% 3 x and place in between cups & hatboxes sharpen add DS


c&p ele 157 resize by 70% 4 x and place on fan image rotate 20 degrees to right sharpen add DS


c&p ele 185 resize by 70% 4 x and place behind cups sharpen add DS


go to frame layer, c&p ele 16 resize by 70% 1 x and place on edge of frame (see mine for placement) sharpen add DS


go to the dress layer c&p ele 65 resize by 70 % 4 x and place on dress towards the right a little sharpen add DS


c&p ele 107 resize by 70% 3 x and place behind tube on left side sharpen add DS


go to your bottom layer c&p paper 44  apply your mask merge group


add any other elements you would like, i added some sparkle to the mask layer and the steamship to the top layer


now you can crop your tag & resize to whatever size you like. i resized mine to 550 width


add your copyright info, designer credits, license info and your own taggers watermark, merge visible save as png


thats it! you are done. i hope you enjoyed this tutorial and it was easy to follow. thanks for tryig my tutorial


Steampunk Bride tutorial
by Ladyjai3Creations
July 2020


Wednesday, July 29, 2020

Timeline and Avatar


a timeline set using the fabulous autumn art of
© Alehandra Vanhek


You must be an exclusive member of PicsforDesign.com to get this

i paired it with a new kit by
Pink Paradox Productions called
"Autumn Sunglow"


you can purchase the kit here

https://wickeddiabladesigns.com/index.php?main_page=logoff


Enjoy!


Ladyjai3Creations
July 2020