Sunday, March 17, 2019

Rocking Shamrocks snags


some St Pat's Day snags for you

The kit i used is
Rocking Shamrocks by

Pink Paradox Productions
you can purchase it here

http://www.pinkparadoxproductions.com/store

its just a beautiful St Patricks kit full of gorgeous elements & papers


left click to bring full size then right click to save to your pc 


thanks for looking!


Thursday, March 14, 2019

Camellia Tag Tutorial


Camellia Tag Tutorial
by Ladyjai3Creations
March 2019


what you will need 

a tube

i am using Camellia by © Alehandra Vanhek

you can purchase this tube here

http://picsfordesign.com/catalogue/id_157687_camellia.pix

i will be using the green layer

Filters


Muras Meisters copies

eye candy 4000 gradient glow (copyrights&license info)

filters unlimited 2.0 paper textures


ok lets start

open a new transparent image 400 x 275

c&p your tube and place in center, if an oversized tube resize a bit to fit

Muras Meister copies wallpaper rotate, default setting

eye dropper tool and take a light color from tube for foreground and then slightly darker color for background

rectangle tool draw out a small rectangle convert to raster, get your magic wand, click in the square, c&p tube as new layer selections invert hit delete on keyboard

again you might have to resize, selection none, blend mode screen reduce layer properties to about 68

add drop shadow (i used H 2 V-2 Opacity 68 Blur 7) layers merge down

layers duplicate image mirror carefully place under first picture

merge down objects align vertical center in canvas

go to background layer, filters unlimited paper textures, i used striped texture fine with mine but you can use whatever you wish

go to top layer c&p tube, resize a bit and place on right hand side, sharpen add DS

new raster layer select all flood fill with your light color, selections, modify contract by 2, hit delete
 on keyboard, selections invert, effects inner bevel of your choice

select none, add a thin gradient glow with the same light color

go to the original frame, adjust gaussian blur at 8

top layer add remove noise  uniform at 40% then random at 50%
merge down

add your copright info, license # and your own taggers watermark. merge all flatten save as jpg add your name 

i used Seasons Spring which you can find at DaFont.com


thanks for trying my tutorial, i hope it was easy to follow and you had fun


Camellia tag tutorial
by Ladyjai3Creations
March 2019
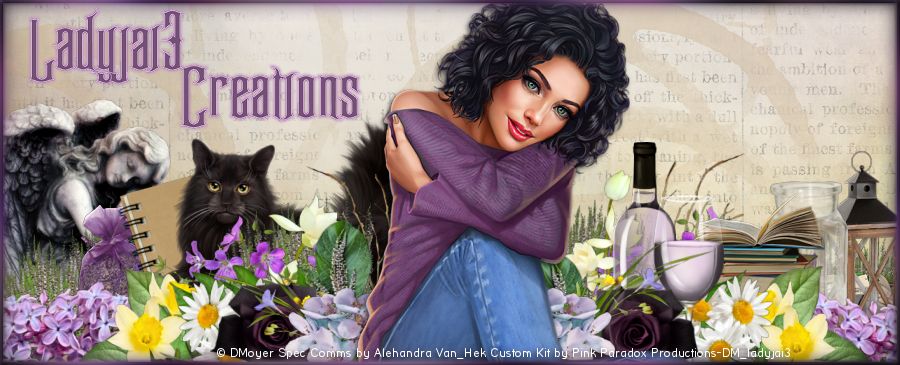


Wednesday, March 13, 2019

Spring Bouquet snags


a set of spring snags for you

i used the scrapkit 

"Spring Bouquet" by

Pink Paradox Productions 

you can purchase the kit here


http://www.pinkparadoxproductions.com/store 


i hope you enjoy them 


Friday, March 8, 2019

Spring Floral Tutorial


Spring Floral Tutorial
by Ladyjai3Creations
March 2019


what you will need

paint shop pro (i used version x7)

a scrap kit 

i am using Lavender & Daffodils by

Pink Paradox Productions which you can purchase here

http://www.pinkparadoxproductions.com/store


a spring type tube

i am using Springtime by © Maria Fiodorova

you can purchase this at www.picsfordesign.com

mask & font of your choice

(i used Peaches for Breakfast )


ok lets begin


open a new transparent image 800 x 800 ( we will crop later)
c&p paper 24 onto canvas
apply your mask


c&p your tube , if youre using the same tube i chose the purple layer for her
resize by 70% 3 x place in center


c&p ele 41 resize by 70% 2 x then by 80% layers duplicate resize by 85% add DS of choice and sharpen


c&p ele 76 resize by 70% 2 x and place behind tube to the left sharpen add DS of choice


c&p ele 49 resize by 70% 4 x sharpen add DS place in front of tube on right hand side

c&p ele 48 resize by 70% 4 x and place in front of tube on right hand side in front of the soap sharpen add DS


c&p ele 29 resize by 70% 4 x and place behind tube on boxes sharpen add DS

c&p ele 31 resize by 70% 2 x and place behind tube on right hand side sharpen add DS

c&p ele 33 resize by 70% 3 x place behind tube on right hand side in front of can sharpen add DS

c&p ele 93 and place on top of can then get your eraser tool out and erase the bottom of the flowers so it looks like they are in the can sharpen


c&p ele 96 resize by 70% 2 x and place on top of can inbetween the buttercups and erase the bottom of that flower so it looks like its in the can too sharpen


go to top layer c&p ele 18 resize by 70% 3 x place in front of tube around her knee sharpen add DS


go to your mask layer c&o ele 129 and resize by 70% 1 x and place where you like on the mask

add any other elements you would like, then you can crop your image, resize to what you prefer, add

 your copyright, license info, kit designer credits & your own taggers watermark.


merge visible save as png, add your name and you are done!


thank you for trying my tutorial, i hope you enjoyed it and it was easy to follow.


Ladyjai3Creations
March 2019
Spring Floral Tutorial